Sunday, February 24, 2019

We Loved You Before You Were Born

February 2019 was my first Hip Kit. I absolutely adore it. I used the Carta Bella Flower Market Garden Floral Paper cut it down an inch on each side and glued it onto the Pinkfresh Studio Joyful Day Perfect Moment Paper. I did some mix media by using some Tim Holtz Distress Oxide Broken China along with some texture paste. I used Tim Holtz MM1 stencil on the background. I hand cut the two large hearts on the page and overlapped them. I fuzzy cut the hearts from the HKC Exclusive- Oh My Heart Paper and stitched two of them together. I used a few pieces from the Carta Bella Flower Market Ephemera including the one on my title that now reads loved. I added the d because it only said love. I used the following fonts for my title: We: is from American Crafts IGUANA thickers, You and You Were: are from Pinkfresh Studio Joyful Day Navy Script Puffy Alphabet Stickers, Even: I cut out of my skinnimini Quickutz Studio font, Before: is Scraptastic Puffy Stickers (no longer available) and Born: is from a Citrus Twist exclusive font.
Thank you for visiting my blog.


Monday, January 28, 2019

Mix Media Layout - New Orleans

Thank you! for stopping in an looking at my Blog. It's been a few years that I have posted here but, one of my goals this year is to create more layouts that I can share with you all.

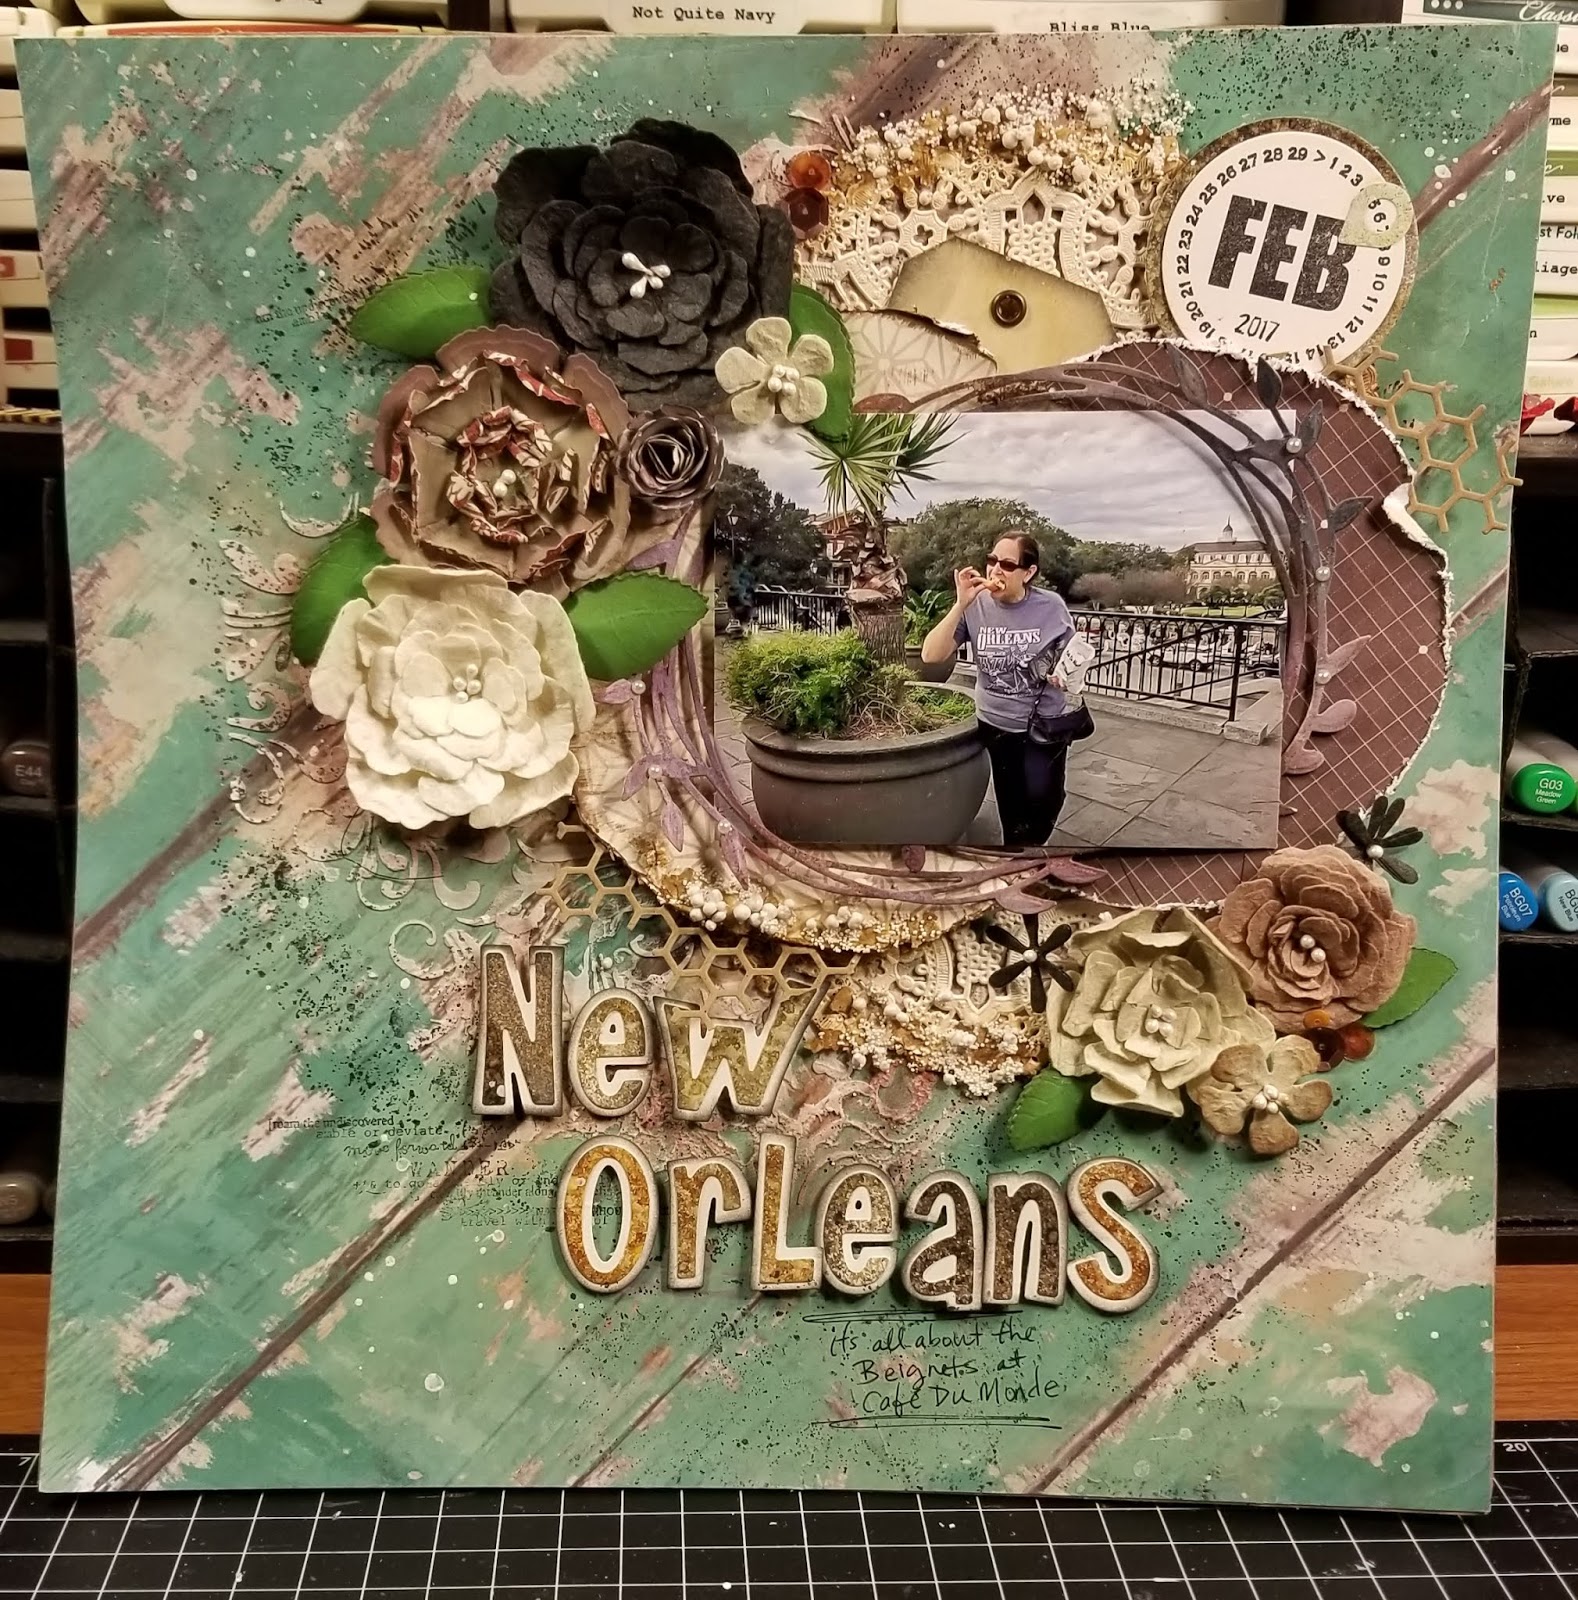
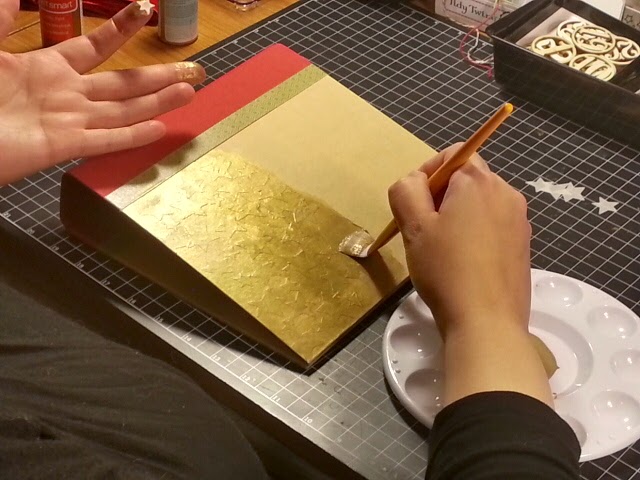
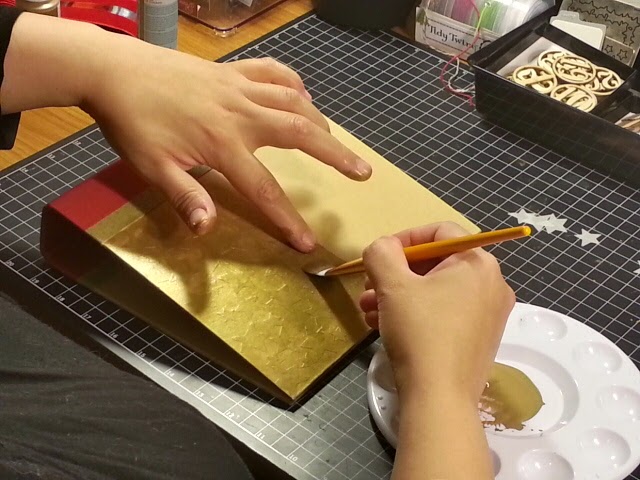
I started this page with this beautiful green wood grain pattern paper. Unfortunately, it didn't have a manufacture label. I believe it came with one of my scrapbook kits. If anyone knows what paper this is please let me know, I started this layout by brushing on the entire pattern paper with clear Gesso (Art basics).

Once that dried I used some Opaque Matte (Ranger Texture Paste) and applied it over a flower Stencil ( Tim Holtz MM3). I then applied Vintage Photo, Black Soot and aged Mahogany (Ranger Distress Oxide) to this textured area and a I also cut out two Spellbinders Wreath and applied these to them as well after treating them with clear gesso. I  attached these two wreaths around the photo and cut out two circles from Basic Grey Carte Postale Mulholland Drive and Bourbon Street and place them behind the photo. Underneath the photo I placed an older doily that I had in my stash and distressed it with Vintage Photo (Ranger Distress Oxide). I then stamped one of the stamps from Tim Holtz Stampers Anonymous Urbantapestry CMS 061 to the entire layout along with a stamp from 49 market Captured Adventures Stamp Set 1.

Now to finish the page I placed all my handmade flowers made out of mulberry and pattern paper throughout the layout. I placed a honeycomb die cut within the layout, placed a tag behind the photo and added Art stones in two sized and some Gold Mica Flacks (Prima art Ingredients). I applied these with soft matte gel (art basics). I also placed a few sequins and little pearls within the wreath. I cut out two small circles and stamped FEB (Hero Arts Months) on it and place a location die (Quickutz) on top of the day. I cut out New Orleans from cardstock and some distressed paper from (Frankie Quickutz Alphabet). To finalize this layout I splattered Opaue White (Mister Huey's Color Mists) throughout the page.

Thank you for stopping by and if you have any comments please let me know.

Veronica


Sunday, December 7, 2014

December Daily Album 2014 Finished Cover and Cover Page

Hell Everyone, Here my finsihed December Daily Album finished. I added red and green sheer and felt ribbon from my stash. I cut out and glued 6 of the same numbers and alphabets to create a chipboard look. Quickutz I used on the cover: 25= Quickutz Classic Venus, Days= Quickutz Vixen, Of= Quickutz SnowDay, December= Quickutz Emily and 2014 on the side = Quickutz Metro. I also used some Quickutz Holy rubon and placed them behind the 25.


The cover page is vellum inside a page protector. I punched out some stars from the same die I used on the cover out of gold paper and glued two together and placed an elastic. Again the  I cut out and glued 6 of the same numbers and alphabets to create a chipboard look. Quickutz I used are: Hello= Quickutz Deck the Halls, December= Quickutz Holiday and 2014= Quickutz Classic Marisa. I did the same on the other side but cut the letters out backwards.  


Thank you for visiting
Veronica ;)

December Daily Album 2014 Cover Prep

Hell Everyone, for my 2014 December Daily Album I used another Snap Simple Stories red album and colored the cover with Martha Stewart Metallic Gold & Glitter Carnelian Paint. What I did first is cut out some Quickutz stars out of vellum and then painted them on the album a few sections at a time. I started by painting the cover with gold paint a few sections at a time and then painted each star as I went on. Instead of using glue to do this decoupage I used the paint as glue and I love how it turned out. I then painted the entire album with another layer of gold pant and then added a thin layer of the red glitter. I hope you enjoy this procedure.


Thank you for visiting
Veronica ;)

Sunday, November 30, 2014

December Daily 2013 Album and 2014 Supplies

Hello Everyone, I had finally uploaded my finished 2013 December Daily Album onto YouTube to share with you all. I have also uploaded a video showing you some of the supplies I hope to use on my 2014 December Daily. 


Thank you for visiting
Veronica ;)

Tuesday, October 14, 2014

Copic Markers Online Class Day 13- Having Fun

Day 13 and Final Class of my Online Card Class: COPIC Markers for Card Makers- Having Fun

I ordered this Santa Stamp from C. C. Designs to created my last card for this class. I received it in today's mail and I couldn't wait to get home and color him in. I was so happy with the end result. I had to play around with some colors to get the right shadings.


Here is a list of supplies i used for this card: 
  • DCVW Stack- Shimmer Cardstock
  • C. C. Designs Rubber Stamp: Roberto's Rascals Santa's Ride
  • Scraptastic December 2013- Home for the Holiday's Stamp Set
  • Quickutz Deck the Halls Dies
  • OCD- Tidy Twine- Christmas
  • Hero Arts Embossing Powered- Silver
  • EK Tools 3D- Dots 1/16in Thick
  • Glossy Accents
  • Wink of Stella
  • Gelly Roll Pen- Clear Star
  • Copic Markers: 0,C0,C3, C5, C7, C10, E00, E11, E41, E43, E44, RV02,R20, R22 R29,B02, B04, YG05, YG07, YG09, G21, G24, G28, W0, YOO, Y08


Thank you for visiting
Veronica ;)

Sunday, October 12, 2014

Copic Markers Online Class Day 12- Storage

Day 12 of my Online Card Class: COPIC Markers for Card Makers- Storage

When I bought my first few Copic Markers I kept them in a clear plastic bin with lid on my desk. Once I outgrew that bin I needed another storage solution for my  desk. I searched and searched and I did not find anything that would fit on my desk. I did not want to loose any desk space just to buy a storage unit just for my markers. When searching for my unit I did take in consideration that I would some day want to buy all 358 markers.

I kept all of my Stampin' Up Ink pads in my Cubeical Stackable Storage Unit on my desk so, I removed the the pads from the bottom shelf and moved them to the Storage unit on the left. I then sketched a design of the cardboard unit to fit inside the storage unit. It's not perfect but, it works for me. Each unit has 20 slots and hold 6/7 markers mostly six.

 I also created a reference sheet to go along with my unit. I drew all 60 slots and wrote down the letters and numbers for each family. I started with the E=Earth, C= Cool Gray, W=Warm Gray etc.. I store my reference sheet in a black flat pencil case along with my copic marker swatch book. Every time I buy a new markers I put a dot next to the letter/number and I can easily go and look at it when I'm purchasing a new color.   


Thank you for visiting
Veronica ;)

Saturday, October 11, 2014

Copic Markers Online Class Day 11- Hiding Mistakes

Day 11 of my Online Card Class: COPIC Markers for Card Makers-Hiding Mistakes. The end result of this card was so cute you need to scroll down to look at the finished card. I colored the Saturated Canary Fly Girl and I was think of the background before I continued coloring the broom. I ended up coloring what I thought looked like a moon at first but, looked like a tennis ball at the end. I did cut out the Fly Girl and printed a second image to color the broom. I did make a mistake and colored outside of my broom and used the colorless blender to hide it. I then stamped some cloud for the background and stamped the words Happy Halloween with Scraptastic Kit Club Stamps. I colored her bow, jacket/dress, hat and boots with Copic markers 100, C0 and 0. They looked almost like suede. Once I added Wink Of Stella it didn't look like suede anymore. I didn't put any Wink Of Stella on her boots.


Please note that I inserted the watermark Krista Smith Saturated Canary on the image because, I had not colored the image in and I wanted to demonstrate the steps that I took to complete the card. 


Here is a list of supplies i used for this card:
  • Striped Pattern Paper Company unknown- Maybe DCWV
  • Bazzill Cardstock- Purple/Black
  • Saturated Canary Digital Image- Fly Girl
  • Scraptastic July 2013 Ormolu Stamp Set (the word Happy)
  • Scraptastic October 2013 Blackbird Stamp Set (the word Halloween)
  • Scraptastic April 2014 Worth Wondering Stamp Set (the clouds)
  • Quickutz Bats
  • StazOn Ink Pad-Jet Black
  • Stampin' Up Ink Pad-Smoky Slate
  • Stampin' Up Ink Pad- Pumpkin Pie
  • Stampin' Up Marker- Tangerine Tango
  • Versafine Ink Pad-Onyx Black
  • Ranger Liquid Pearls White Opal
  • EK Success 1/16in thick Thin Foam Dot Squares
  • Adornaments Purple Fiber
  • Wink of Stella-Clear

Thank you for visiting
Veronica ;)